Simple Crock Pot Green Chile Chicken with Masa Dumplings: FAST FOOD Part 2 of 3

Simple Crock Pot Green Chile Chicken with Masa Dumplings

Imagine your busiest day of the week filled with all things nutso where you are stretched as thin as silly putty about to snap. Then add something else to your to-do list. Like eat. Eating isn’t all bad, especially when it’s something fabulous and easy and delicious and good for your team.

Enchilada sauce, chicken, black beans and masa.  BAM! That is it my friends.

Masa? Que Paso? Masa is corn flour used to make corn tortillas and tamales. We LOVE homemade corn tortillas and tamales but again….labor of muy loco love cuz they are a crazy amount of work to make. To be fair to tortillas though, we make them several times a month and those bad boys are so worth the effort! Just not on those days when life is super nuts.

Back to masa and why it is so spectacular. Masa harina is a whole grain and because it comes from corn, it’s gluten free if that matters to you. If you need it gluten free certified make sure it’s on the label (like Bob’s Redmill). Otherwise masa is a cinch to work with and it’s super delicious, its good for you without tasting like liquid alfalfa. Sold right?

You will find it on the bottom shelf at the grocery store in the Hispanic section.

20161022_184213.jpg

We invented these masa dumplings when we had no time to make honest to goodness real homemade corn tortillas, fill them with the chicken and bake…I needed to simplify crazy delicious enchiladas. This recipe does that.

Back to dinner on the craziest day of the week.

FOUR ingredients, whole grain, whole foods….AWESOME!

20161026_172449.jpg

This recipe also has 3 different levels of difficulty based on how much time you have.

Simple Crock Pot Green Chili Chicken with Masa Dumplings

  • 1 28 oz can green chili enchilada sauce
  • ¼ can water added to the green chili enchilada can, swirled around
  • 1 15 oz can black beans, rinsed and drained
  • 1 pound chicken (pork would work too)- I only thaw it in the fridge overnight (when I remember) so it’s still pretty frozen in the morning

Use a crock-pot liner, spray with oil or do nothing at all (that’s how I do it) to the inside of the crock pot. Place enchilada sauce, water, black beans and chicken. Dial crock pot to low and let it go to work while you attack your day. I usually start this meal at 7 am, when I get home at 3 I shred the chicken and add the masa.

***EASY LEVEL ALERT*** need things simpler? Don’t add the extra water, once the chicken has cooked all day, shred it and scoop the shredded chicken into flour tortillas or corn shells. BAM…Dinner ready

***MEDIUM LEVEL ALERT *** If you have an extra hour before dinner add this step:

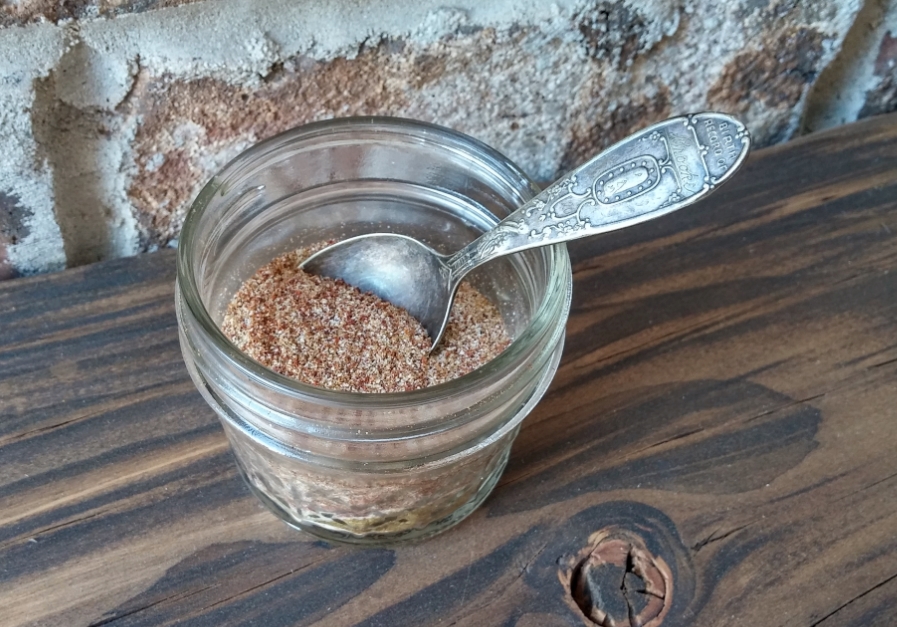
  • 1 2/3 cups masa (whole grain corn flour used to make tamales – you find it in the Hispanic section)
  • 1 1/4 cup warm water
  • Pinch of salt

Measure masa, add salt and blend. Add water to form dough, similar to biscuit consistency. If it’s a little sticky and wet it’s ok. If it’s so sticky you can’t get it off your fingers add a little more masa. Corn flour has no gluten so you can’t really over mix it with negative consequences.

Scoop golf ball sized globs and pat flat - about ¼ inch thick in the palm of your hand or your fingertips and drop into fully cooked shredded chicken goop in the crock pot. Spread the masa around (we push the layers of masa down with a fork) until all the masa dumplings are submerged. Crank the crockpot to high for one hour and your masterpiece will be inhaled shortly.

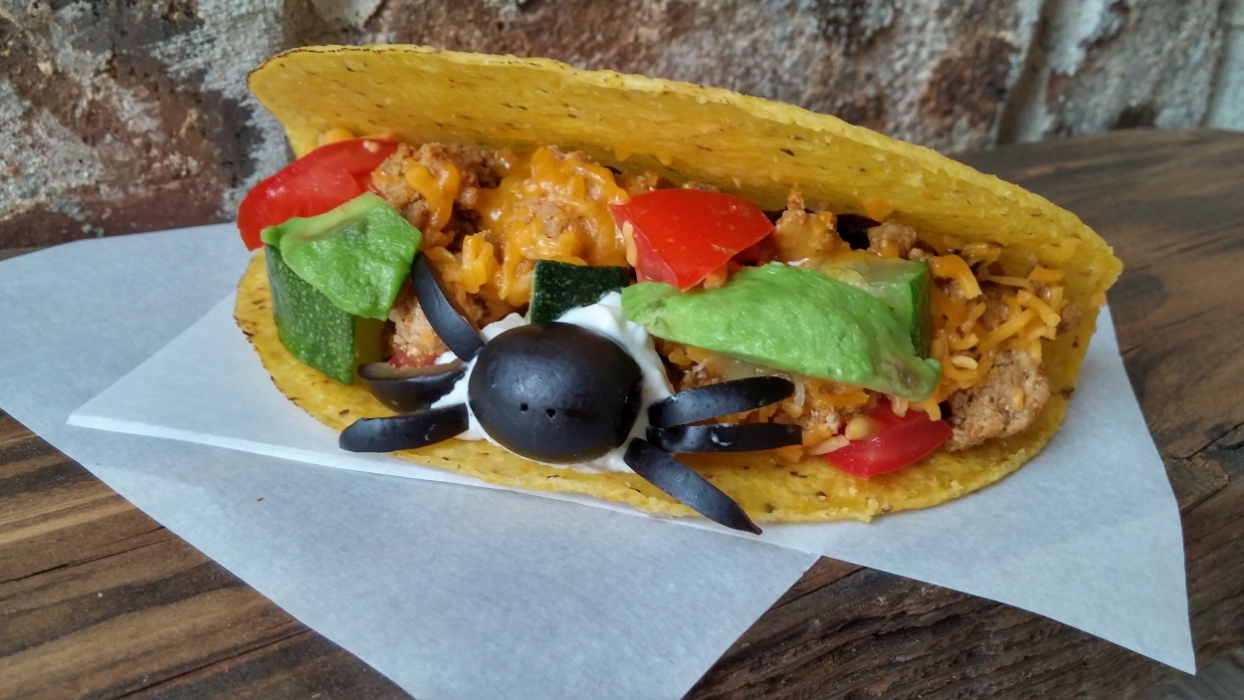
Serve atop fresh spinach with a side of tomatoes or summer squash. My kids love to dollop with sour cream.

Muy delicioso!

Brooke

 ***HARDEST LEVEL BASED ON TIME AND ENERGY*** Should you feel super energetic and prefer homemade green Chile tomatillo sauce, this is what I use. We grow tomatillos in the garden and literally have 2 – 5 gallon buckets of tomatillos. I love homegrown, homemade sauce so I freeze it in 4-5 cup portions and use that instead of the cans of enchilada sauce from the store.


Quick Green Chile Tomatillo Sauce

Boil

  • 5 pounds of husked tomatillos
  • 10-12 jalapenos, remove seeds and ribs if you prefer less heat
  • 2 big pinches of salt

Add enough water to cover tomatillos and jalapenos, bring to a boil and boil 10 minutes. Drain in a colander.

In your blender add:

  • 1 bunch cilantro
  • 2 medium onion, course chopped
  • 6 cloves garlic
  • 4 cups chicken broth
  • Salt to taste

Scoop enough cooked tomatillos and jalapenos into the blender to fill about 2/3 the way. Add a cup or two of the broth so things swirl and grind to your smoothness liking.

 Add olive oil to bottom of stock pot, enough to coat.

Pour blender filled with pureed goodness back into the stock pot you used to boil the tomatillos. Blend in batches remaining broth, tomatillos and jalapenos until smooth. Bring to a boil then simmer for 30 min to 1 hour.  Yields 14 cups.

Garlic - 3 Nifty Facts, Simple Recipe and Growing Your Own

Ahht, ahhht, ahhh isn't garlic the best! I use it all the time and love how it bring the flavors of food together.

1. Garlic contains two well known phytochemicals, allicin and ajoene. Allicin, responsible for it's distinctive aroma, is released as soon as you bruise the clove. The more bruising and cutting the more allicin gets released. It's this compound that may lower cholesterol, blood pressure and the risk of stomach cancer.  Ajoene is responsible for garlic's ability to make blood platelets less sticky. Completely cool that those small little things can be so powerful!

2. Garlic dates back over 6,000 years native to central Asia. Used widely in the Mediterranean, it was also so coveted it was found in King Tut's tomb in Egypt. It's also known to ward off vampires and equally as powerful,  lesson the symptoms and duration of the common cold.

Occasionally, my hubby will enjoy lunch at a Mongolian stir fry place. Upon entering the house he is detected at first wiff and risks sleeping outside if his scoop of garlic was too heavy handed. I LOVE garlic but not as a body spray. 

3. In the spring, foodie snobs can find garlic spears or garlic scapes at the farmers market. Genius on the part of the farmer or you if you grow your own. Instead of letting the bulb go to flower, and discarding the stem and spear when you harvest the cloves, you eat it! Simply cut the spears and roast (see pintrest) or sauté with other veggies.  

We saw these at Pikes Place in Seattle this past June. Totally unusual and totally cool!


SIMPLE BRUSCHETTA with GARLIC

  • 1  garlic clove crushed and finely minced
  • 4-5 tomatoes, diced (seeded if seeds bother you)
  • 5-10 basil leaves chopped
  • tiny bit of salt
  • 1 Tbsp olive oil (or more to taste)
  • 1 Tbsp balsamic vinegar (or more to taste)

If these ingredients are handy they only elevate the level of deliciousness:

  • artichoke hearts (packed in water) - diced
  • hearts of palm (packed in water) - diced
  • fresh mozzarella - diced
  • cucumber - diced

Mix and let merry for flavors to blend at least 30 minutes prior to digging in. If you want extra garlic goodness, rub a clove of raw garlic atop your piece of toasted bread...BAM! Goodness is waiting for you to enjoy.

I usually make this when I can grab crusty artisan bread off of the bakery 'day old' racks.

GROW YOUR OWN GARLIC

Garlic is a crop you actually plant in the fall.  Growing you own garlic is easy peasy.

  1. Buy an extra head (or several) of garlic at the garden center, farmers market or grocery store.
  2. Break a head of garlic into cloves, keeping the papery skin attached.
  3. Plant NOW - it's something you plant in the fall - garlic cloves about 1 inch deep in loose, healthy soil. Space cloves 4-6 inches apart in all directions.
  4. Water occasionally until the snow comes and harvest mid to late spring. When the tops start to dry up you know they are ready to pull from the ground. 
  5. Remove from the soil and dry for a few weeks. Mine dry on an old plastic sled in the garage. Knock the dry dirt off and rub loose skins off. Store in a cool dry place for your own garlic all winter long!

Happy Learning, Eating and Growing!

Brooke


Taco Tuesday with a Simple HealthyTwist

Who doesn’t love Taco Tuesday? Taco Tuesday is a meal the whole family will eat and be happy about eating.

Empowerment is probably the biggest reason why taco’s are met with so much appreciation. You put whatever you want on your taco.

  1. Immediate buy in – CHECK.
  2. Most of the food gets eaten- CHECK
  3. Healthy and satisfying – CHECK
  4. Delicious - CHECK

Olives, shredded cheese, diced tomatoes, black beans, refried beans, sour cream, avocado, salsa, crisp lettuce or fresh spinach topped with seasoned meat and whammo – a tasty dinner is served.  We also love diced sautéed summer squash with our tacos.
 

Still all the same old taco stuff right down to the ground beef or turkey sautéing up in a pan. Sprinkle it with taco seasoning.

This my friends is where the simple healthy twist comes into play.

Rather than paying about a buck for a pre-packaged taco seasoning mix, consider making your own. We have done this for several years now and I will NEVER go back.

Your homemade version will be less expensive, just as convenient AND BETTER FOR YOU!

The one you make will have no maltodextrin (sugar) used as a flowing agent to get the spices out of the machine and into the packet. It will also have almost NO sodium.

Why should I care about how much sodium I eat?

We eat too much but that isn't new news. It’s in virtually everything we purchase that has been processed in anyway. Not just chips, bouillon, canned soups and lunch meat but breads, cereals and almost every other thing that comes out of a box or a wrapper.

Salt is an incredibly cheap ingredient manufactures to add to foods because it acts as a preservative and it enhances flavor. However, too much is not good for you.

Eating too much sodium (sodium is in salt) can increase your risk of heart disease, it might increase your blood pressure and if you have congestive heart failure, cirrhosis of the liver or kidney disease it can lead to a build up a fluid which makes breathing difficult, moving difficult and living difficult.

Decreasing your sodium intake on Taco Tuesday just got simple.

You can do it a tablespoon at a time or a pint jar at a time. Here is how simple it is

TACO SEASONING

  • Chili Powder
  • Cumin
  • Garlic Powder
  • Onion Powder

Equal parts of each and you have your taco seasoning blend. Sprinkle liberally over you meat as it's browning. THAT’s IT! Unused seasoning can be stored in a glass jar with the lid tightly closed.

I buy the cheapo“5th Season” brand on the bottom shelf at the grocery store. Each bottle costs me 88¢ and will make about 12 ounces of taco seasoning for about $3.50 (30¢ per ounce) with 1/3 the sodium. One packet of prepackaged stuff will run you about $1 per ounce and have 2/3 more salt.

Taco Tuesday with a simple healthy twist is a way to enjoy a meal your family loves, save money and enjoy a healthier dinner with less sodium.

Whole foods, whole grains and simple ingredients you can pronounce while eating more produce will guarantee you several things.

You will feel awesome.

You will look awesome.

You will help others feel and look more awesome when you teach them your secrets.

Have an AWESOME Taco Tuesday!

Brooke